Easy Dubai chocolate bar: indulge in taste with a touch of health
Creating a Dubai chocolate bar at home is a delightful journey into the rich flavors of the Middle East, infused with a modern twist. With simple ingredients like milk chocolate, kataifi, and pistachio cream, you can indulge in a treat that’s both nourishing and satisfying. This recipe promises an easy and elegant addition to your culinary repertoire.
Gathering Your Ingredients
Begin your culinary adventure by assembling all the necessary ingredients for the Dubai chocolate bar. This includes milk chocolate, kataifi, unsalted butter, pistachio cream, tahini, and a pinch of salt. Gathering these components first ensures you have everything ready for a smooth cooking experience. This not only simplifies the process but also helps in maintaining a flow, making sure you’re not scrambling for ingredients last minute.
Ensure your milk chocolate is of good quality, which will serve as the base and top layers of your bar, providing a creamy texture and rich flavor. Kataifi should be fresh to maintain its crispiness once baked, enhancing the texture contrast in your chocolate bar. The unsalted butter will be used to cook the kataifi, while the pistachio cream and tahini add a smooth, nutty flavor that complements the chocolate perfectly. Don’t forget the pinch of salt—it’s a small addition but crucial for bringing out all the flavors.
As you prepare these ingredients, consider the health benefits each component brings. Chocolate is not only delightful but contains antioxidants, while tahini offers a good source of healthy fats. Pistachio cream is rich in nutrients and unsaturated fats, making this treat a bit more guilt-free. This preparation step aligns perfectly with your goal of creating nutritious yet indulgent dishes, ensuring a balance between health and pleasure in your culinary creations.
Creating the Chocolate Layers
Once you have all your ingredients prepared, the first delightful step in crafting your homemade Dubai chocolate bar is to start with creating the chocolate layers. Begin by gently melting the milk chocolate until it’s smooth and glossy. Carefully pour enough melted chocolate into your chosen molds to form a thin base layer. This foundational layer not only provides the perfect setting for the filling but also ensures that your treat has a solid chocolate base to support the additional layers.
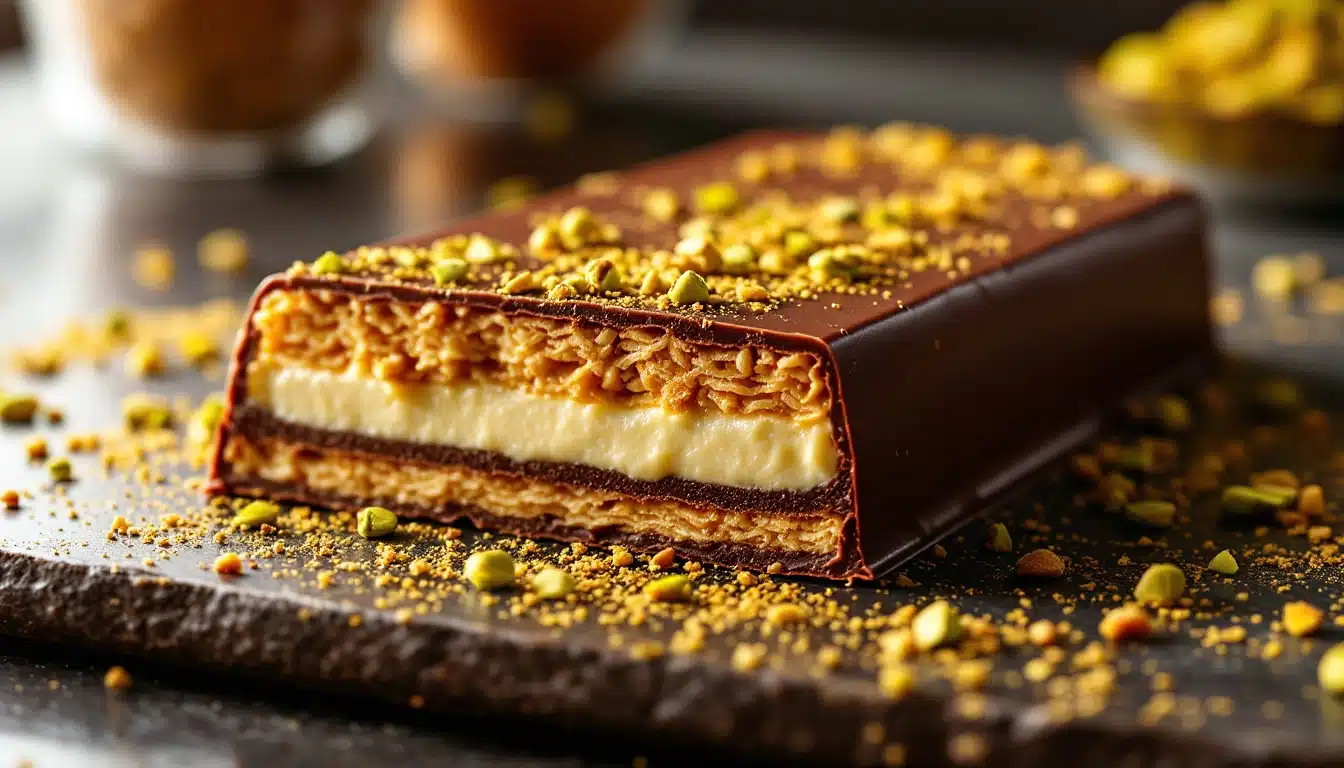
After the base layer is set in the refrigerator and has hardened, it’s time to add the delicious middle layer. This consists of a mixture of finely chopped kataifi, which has been golden-fried to a crisp texture, and a lush pistachio cream, all bound together with a hint of tahini for depth of flavor. Spread this mixture evenly over the set chocolate base. Then, pour the remaining melted chocolate over the top, ensuring it fully covers the pistachio and kataifi layer. This top layer seals all the flavors inside and, once set, creates a smooth, clean finish that’s visually appealing and ready to satisfy any chocolate lover’s dream.
The process of layering your chocolate ensures that each bite is a blend of textures and flavors that make the Dubai chocolate bar so unique. Allow the final product to chill until it’s completely set to enjoy the perfect snap of well-tempered chocolate contrasted with the creamy, crunchy filling. This method not only simplifies the preparation but also turns it into a delightful experience, perfect for sharing with friends or indulging in a quiet moment alone.
Finishing Touches and Setting
To perfect your homemade Dubai chocolate bar, pay close attention to aligning all layers precisely. Start by ensuring that the pistachio and kataifi layer is evenly spread over the initial chocolate base. This meticulous alignment is not only crucial for aesthetics but also ensures each bite contains the perfect balance of flavors and textures.
Once you’ve assembled the layers, the final step involves smoothing the top layer of melted chocolate over the filling. Use a spatula to gently glide over the surface, creating a sleek finish. Place the chocolate bar setup into the refrigerator to solidify. This cooling period is essential as it allows the chocolate to harden properly, resulting in that delightful crisp snap when broken. Moreover, the chill time enables the flavors to meld beautifully, enhancing the overall taste of your Dubai chocolate bar. Enjoy the blend of creamy, crunchy, and chocolaty textures once it’s thoroughly set.
Remember, the quality of chocolate you use can significantly influence the outcome of your dessert. Opt for high-quality milk chocolate to ensure a smooth, rich flavor that complements the nutty pistachio and the exotic touch of kataifi. This final chilling step is not just about setting the chocolate but also about perfecting the flavor profile of your creation.
I hope you enjoy making and sharing these Dubai chocolate bars! They’re not only a delightful treat but also a chance to explore new flavors. Give this recipe a try, and don’t hesitate to add your personal touch. Share your results or any creative twists with us; we’d love to see your culinary creations!
SEND THIS RECIPE TO YOUR EMAIL!
Enter your email and I’ll send it to your inbox. Plus, you’ll get new recipes every week!
Easy Dubai chocolate bar: indulge in taste with a touch of health

Prep time: 23 min
Servings: not specified
Calories: Kcal
Cuisine: Middle Eastern
Ingredients
Milk chocolate,
Kataifi,
Unsalted butter,
Pistachio cream,
Tahini,
Pinch of salt,
Instruction :
Melt the milk chocolate until smooth and glossy. Pour enough melted chocolate into molds to form a thin base layer. Set in the refrigerator until hardened. Add a mixture of finely chopped and golden-fried kataifi, pistachio cream, and tahini over the set chocolate base. Pour the remaining melted chocolate over the top, covering the pistachio and kataifi layer. Smooth the top layer with a spatula. Place in the refrigerator until the chocolate has hardened completely and the flavors meld.